Sunday, February 27, 2011

Slow Cooked Steel Cut Oats

Los Angeles went a little big loco this weekend!  I was up in the Burbank/Los Feliz area over the weekend, and it started to SNOW!  Yes, it snowed in LA, as in there was a thin layer of snow on my car and covering the grass when I walked outside.  In this rainy weather, nothing is better than a hot breakfast to start your day.  Though I wasn't a fan of oatmeal growing up, nowadays I find it fills me up and leaves me feeling comfy and cozy till lunch.  This week I got the chance to help create a warm, nourishing breakfast for my entire department!  I've been trying to change my eating habits for almost a year.  It hasn't always been easy for me, or those that I work with... (not gonna lie there were some mood swings as I weened myself off candy, soda and bread)  Now that I've embraced it, I'm encouraging others to make the switch as well.  Each month we have a departmental meeting in which a light breakfast is served.  We've had everything from yogurt parfaits, salami cheese and crackers, bagels, donuts all of the typical breakfast meeting fare. 

This month we did a Steel Cut Oats Breakfast Bar!  A couple of us cooked up some steel cut oats overnight in our crockpots and set up a buffet of toppings for people to dress their oats as they please.  What's more fun than an oatmeal bar!  Soon my whole department will be rocking their skinny jeans too! 

Steel Cut Oats for the Slow Cooker
recipe from co-workers wife, yields 4 cups of cooked oats

1 cup steel cut oats
4 cups water
1 pinch salt
1 Tbsp sugar
1 tsp vanilla extract
Cinnamon
Nutmeg
Additional toppings: Craisins, brown sugar, almonds, etc

1.  Spray crock pot bowl with a cooking spray.  Add in one cup of steel cut oats, pinch of salt and sugar.  Pour in 4 cups of water.  * You can also cook half with some 2% milk or even half and half.  This will create a creamier texture for your oats!*

2.  Cover and turn your crock pot on low and cook for 8 to 10 hours.
Note:  I've read online depending on your crock pot cooking time may vary.  If you feel that your crock pot tends to cook at a higher temperature it is recommended that you place an empty tuna can (with no wrapper) in between the heat plate and the bowl of the crock pot if you would like to cook overnight. 

3.  In the morning add in 1 tsp vanilla extract, cinnamon and nutmeg (season to taste). 

To serve we had bowls of brown sugar, honey, craisins, raisins, fresh blueberries, milk and other toppings for people to dress up their bowls of creamy goodness.  The great thing about this recipe is that the flavor combinations are endless!!  This is even a great thing to cook on the weekend and heat up each morning on your way to work.  I like mine with a spoonful of pumpkin butter, some almonds and chia seeds; and the Trainer likes his with some brown sugar, honey and a spoonful of almond butter.  Just add in any additional flavors in the morning and mix into the batch.


Nach-oats from Tastespottings Oatmeal Project
If you want even more Steel Cut Oat/Oatmeal goodness, check out Project Oatmeal by Tastespotting.  They are doing a great Oatmeal challenge of eating and preparing Oats in 28 different ways.  Who would have thought you could have Nacho oats or Japanese Curry over oats!  Check it out!!

Thursday, February 24, 2011

When life gives you lemons, make Lemon Crumb Squares!

I have tons of lemons!  The nicest lady in my Saturday morning boot camp class has been bringing bags of lemons, oranges and grapefruit to class to share with all of us.  At first I took just a few, but the next week when she brought another bag, I greedily took a bunch- cause I had just the recipe in mind.  Last year on thekitchn they had a great looking recipe for Lemon Rolls.  I had bookmarked it and it lay there waiting for me in all its lemony deliciousness, just waiting...
Lemonpalooza

Sadly those Lemon Rolls that I have been waiting for so patiently did not come out.  *tear*  I was being lazy and did not check the temperature of my milk before I added the yeast in and I think I killed it!  Yeast is activated at somewhere around 100 degrees but is killed at 115 degrees.  Moody little sucker.  While my lemon hockey pucks somewhat defeated me for the night, I woke up with a new determination to make something great with the rest of my lemons.

Enter Pioneer Woman's Lemon Crumb Squares!  Just the other week my friend Aims had some extra Meyer Lemons that she wanted to use and this is one of the recipes we found.  So here is my second attempt at some lemony goodness...


Lemony Creamy Goodness
Lemon Crumb Squares
from Pioneer Woman

Ingredients

1-⅓ cup All-purpose Flour
½ teaspoons Salt
1 teaspoon Baking Powder
1 stick (1/2 Cup) Butter, Slightly Softened
1 cup Brown Sugar (lightly Packed)
1 cup Oats
1 can (14 Ounce) Sweetened Condensed Milk
½ cups Lemon Juice
Zest Of 1 Lemon

1.  Preheat oven to 350 degrees.  Mix butter and brown sugar until well combined.
2.  Sift together flour, salt, and baking powder.  Add oats and flour to butter/sugar mixture and mix to combine.


3.  Press half of crumb mixture into the bottom of an 8 x 11 inch pan.
4.  Mix together condensed milk, lemon juice, and lemon zest. Spread onto the bottom layer of the crumb mixture.

5.  Top with the other half of the crumb mixture, but don’t press.  Bake for 20 to 25 minutes, or until golden brown.
I added some almond slices to half to see how it turned out...

Allow pan to sit on counter for 30 minutes after baking. Cut into squares and refrigerate for a couple of hours or until cool.  Serve cool.
These bars were a hit at work!  I thought they tasted great right out of the fridge too.  It would be cool to experiment and maybe add some ginger spice to the crumb topping as well.

Sunday, February 20, 2011

Baked Kim Chee Mochiko Chicken

I have a confession, I miss fried chicken and it misses me.  Besides the fact that I know fried chicken won't help me with my fitness goals, nowadays I am just too lazy to heat up a pan of oil and stand over the stove frying chicken.  This recipe solves both those problems!!  Seriously- I do not lie when it comes to Japanese style mochiko chicken.  This chicken is so moist and flavorful and it will go excellent in your next bento box. 

I created this recipe because the last time I went home my Auntie had given me a bunch of NOH mixes.  I'm normally not a fan of pre made spice mixes because of all the excess salt and chemicals that come in them.  If you have korean/asian ingredients on hand, you could easily use kim chee base or gochijang instead of the NOH packet.

Baked Kim Chee Mochiko Chicken
adapted loosely from Hawaiian Airlines cookbook


3lbs chicken, cut into even sized pieces
1 package NOH Kim Chee mix
1/4 cup shoyu (soy sauce)
4-5 stalks green onions
1/3 cup flour
1/3 cup mochiko
1/2 tsp paprika
2-3 Tbsp oil

1.  Pre heat oven to 425 degrees.  Cut chicken into bite sized pieces.  Sprinkle NOH Kim Chee mix and shoyu over chicken and mix over chicken.  Set aside for 30 minutes.


2.  Combine flour, mochiko and paprika in a plastic bag.  Add chicken into the bag and shake and coat chicken well. 

Shake, shake, shake!
3.  Line a cookie sheet with foil and drizzle the 2-3 Tbsp of oil onto the foil.  Place chicken in an even layer on sheet.  Bake for 20 minutes and turn chicken over and bake for another 10 minutes.

The chicken came out great and totally delicious!  I would definitely make this again!  A nice light coating covered the chicken and some pieces crisped up nicely, just like veggies do when you roast them.  I packed up the chicken for a bento lunch with some veggies and a brown rice musubi!
Kim Chee Mochiko Chicken in my Bento!


Thursday, February 17, 2011

Furikake Puffs!

Last summer I took the Brazilian back home to Hawaii with me.  On our trip out to the North Shore (by the way if you haven't watched the 80's movie North Shore with Nia Peeples- do it!  Cheesey goodness!!!), I had packed us a cooler with some local snacks for our long day at the beach!  My mom had picked up some Furikake Puffs from Bale (a Vietnamese restaurant) that I had tossed in the cooler along with some fruits.  I was so busy driving and playing tour guide that I didn't even notice that the Brazilian had practically finished the entire bag of puffs!! 


For Valentine's day I figured we could go off the diet, so I decided to try to recreate the Furikake Puffs we had on our day at the North Shore.  But really this snack is great any day of the year, you can mix it up and use the sauce with any combination of cereal, nuts or crunchies!   


Furikake Puff Mix
inspired by Hawaiian Airlines Cookbook (circa 2001)

1/4 c butter
3 Tbsp sugar
1 Tbsp shoyu (soy sauce)
1/4 c oil
1/4 c corn syrup
dash red chili pepper (optional)
1 box Corn Puffs (12.3 oz.)
1 bottle Nori Komi Furikake (1.9 oz. bottle)

*If you use the 17.5 oz. size box, just double the sauce recipe*

1.  Pre heat oven to 250 degrees.  Heat butter, sugar, shoyu, syrup and oil till sugar dissolves. 

Buttery goodness
2.  Spray large pan with Pam and pour cereal in. 

3.  Slowly drizzle sauce over cereal and sprinkle furikake over puffs.  If you like a little heat, sprinkle red chili pepper flakes over cereal.  Mix so furikake and sauce is evenly spread. 

4.  Bake at 250 degrees for 1 hour.  Stir every 15 minutes.  *As you stir the mixture at first will seem sticky, when it's complete, the mixture will feel drier and darken in color.*


You can eat these sweet salty puffs of goodness alone, or mix it with popcorn, arare (rice crackers), maybe even peanuts.  It can be a little over powering for me, so I mixed a handful with some popcorn and it was To Die For!!  Seriously, I texted my friend J just to tell her how good it was- mixing the Furikake Puffs not only makes it last longer but it lightens up the snack as well!  Yipee!!!

Monday, February 14, 2011

Sweet love notes, xoxo

Sometimes the sweetest gifts are the ones that you make yourself!  Even though I am not one to turn down jewelry or designer handbags, this gift that I got will make me smile everytime I look at it.  Check out the cute pic my boyfriend did of me dancing the hula (one of my other hobbies).  I can't wait to print it out and frame it!   

Happy Valentine's Day!  It's not too late to do something thoughtful for the one you love... slip them a note, a heart shaped candy or a cookie in their bag just to let them know you care.  A quick gesture that will make their day. 

xoxo
Lindsey

Friday, February 11, 2011

Chai Pots de Creme

For Valentine's Day dinner, I wanted an easy desert that I could make ahead of time.  Something that we could eat right after dinner or hours later when we had time to digest.  I stumbled across this super easy recipe for Pots de Creme from the Pioneer Woman and was super excited!  1. No baking with a water bath and 2. No heavy cream involved.  I didn't want to do the typical chocolate coffee combo so I decided to spice it up and add in some Brandy and use Chai tea instead. 

It's not too late for you to make this for Valentine's day!  You probably have all the ingredients in your fridge already!!! 

Chocolate Chai Pots de Creme!

Chocolate Chai Pots de Creme

adapted from Pioneer Woman

12 ounces, weight Semi-Sweet Chocolate Chips
4 whole Eggs, Room Temp
2 teaspoons Vanilla Extract (or any yummy alcohol, I used Brandy)
1 pinch Salt
8 ounces, fluid Chai Tea
8-10 ramekins or glasses

IMPORTANT:  Make sure that you take your eggs out of the refrigerator ahead of time and let them come to room temperature before starting. 

1.  Put chocolate chips into a blender and then add in the eggs and the vanilla (or alcohol). Add a pinch of salt. Turn on the blender and watch it do it's magic. *Use pasteurized eggs if you can find them at your grocer.  If not buy the freshest eggs possible and pasteurize them yourself if you like!* 
Blend away!

2.  Very slowly pour in 8 ounces of strong, Super HOT Chai Tea through the opening of the blender lid (while blending).  It is crucial that your tea be extremely hot in order for the final product to be the right consistency and texture.  *I brewed my tea and then heated it up again in the microwave just to be sure*  Blend for a minute or so until mixture is smooth and fairly free of visible bits of chocolate.

As you add in liquid, mixture will rise and expand.

3.  Pour the mixture into ramekins, martini glasses or cute little tea cups.


4.  Place in the refrigerator for at least 3 to 4 hours so the mixture has a chance to set.  *This is an excellent make ahead dessert that you can make the night before!* 

Serve with whipped cream or a scoop of ice cream.  I dusted a heart with powdered sugar just to make a cute little design.  If this desert makes too much, just cut in half or freeze half of them for later.  :) 

Monday, February 7, 2011

I Heart Shaped Ravioli You!!

Heart Shaped Mochi Treats

Valentines Day, you either love it or you hate it...  Whether you are single or with that special someone, it's a good time to celebrate love (or the possibility of it).  You could make this for your sweetie or for a girls night in!  Last year I cooked the Brazilian a gourmet dinner of Filet Mignon with wine reduction sauce and twice baked potatoes with a dessert of heart shaped mochi (chi chi dango).   

Me and my valentine...
This year I decided to go with a heart theme and make heart shaped ravioli!  My friend "MC" and I teamed up on this project together one Saturday and got to work assembling these bad boys for our boyfriends... 
Heart Shaped Butternut Squash Ravioli
adapted from Iowa Girl Eats

12 oz Butternut Squash, baked
3-4 Tbsp olive oil
2 cloves garlic
salt and pepper
1/4 onion
1/4 tsp cinnamon
chili pepper flakes
1-2 pkg won ton wrappers, (depends on how much filling you can fit in your heart)
heart shaped cookie cutter

1.  Pre-heat oven to 400 degrees.  Line cookie sheet with foil and place butternut squash on sheet.  Drizzle with olive oil and season with salt and pepper.   * I was lazy so I bought the pre cut butternut squash cubes from Trader Joe's.  If you use a whole butternut squash cut the ends off and cut in half and bake flesh side up.*  Bake for 30-40 minutes, until squash is tender enough to pierce with a fork.  Let squash cool. 

Bake till fork tender

2.  Chop onion and garlic and saute onion in olive oil with salt and pepper till soft.  Add in garlic and saute for another minute.

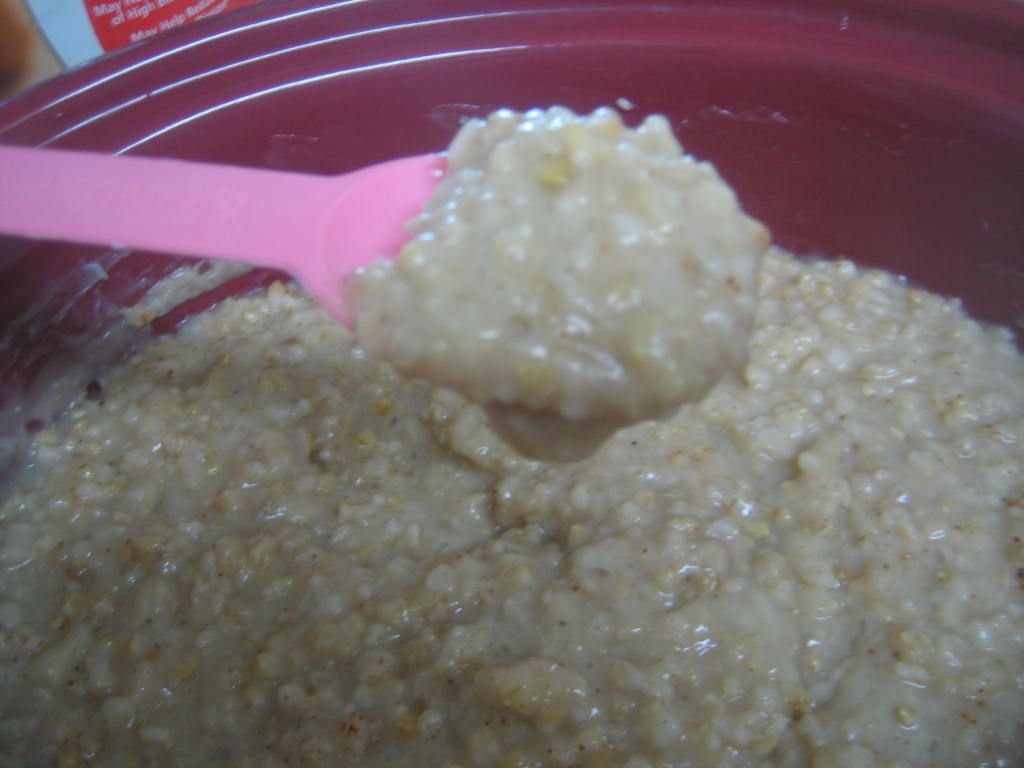
3.  Place onion, garlic, butternut squash and cinnamon in a blender/food processor.  Pulse until all ingredients are combined and smooth.  *Depending on the strength of your blender you might need to work in batches or add a splash more of olive oil*  Place filling in a bowl and season if needed.


4.  Take won ton wrappers (circle or square are fine, choose the shape that your heart shaped cookie cutter works best with) and cover with a moist paper towel.  Using cookie cutter start cutting out heart shaped dough.  *Remember it will take 2 hearts to make 1 ravioli*
Ravioli work station, keeping the won ton wrappers moist.
5.  Spoon approximately 2 teaspoons of filling on to each wrapper.

6.  Moisten the edges of the won ton wrapper with the filling, lay second heart on top and press down to seal with your fingertips.  *  I used a spray bottle filled with water and gently sprayed the ravioli bottom.  This was much quicker than the old school way of dipping your finger in a bowl of water and tracing the outline of the shape*

Seal that yumminess in!
7.  Place each completed ravioli on a wax paper lined cookie sheet (we don't want those babies to stick!).  Pop them in the freezer so they can firm up and seal.  *Trust me it makes them so much easier to work with if you freeze them for a bit*

8.  These cuties cook up the same way as frozen gyoza/mandoo.  To cook, heat up a large skillet and add in 1-2 Tbsp olive oil and add in frozen ravioli once pan is hot.  Let the bottoms of the ravioli brown slightly and add in 1/3 cup water to pan and cover with a lid.  Let 90% of the water evaporate (2-3 minutes) and remove lid from pan to let the rest of the water evaporate.

9.  Gently shake pan to loosen the ravioli.  Using a slotted spoon or spatula remove the ravioli from pan.

You can serve these babies with a brown butter bacon sauce, or even just some good old olive oil, salt and Parmesan cheese!  You can make these with any filling too, MC made hers with Italian sausage, garlic and a three cheese blend.
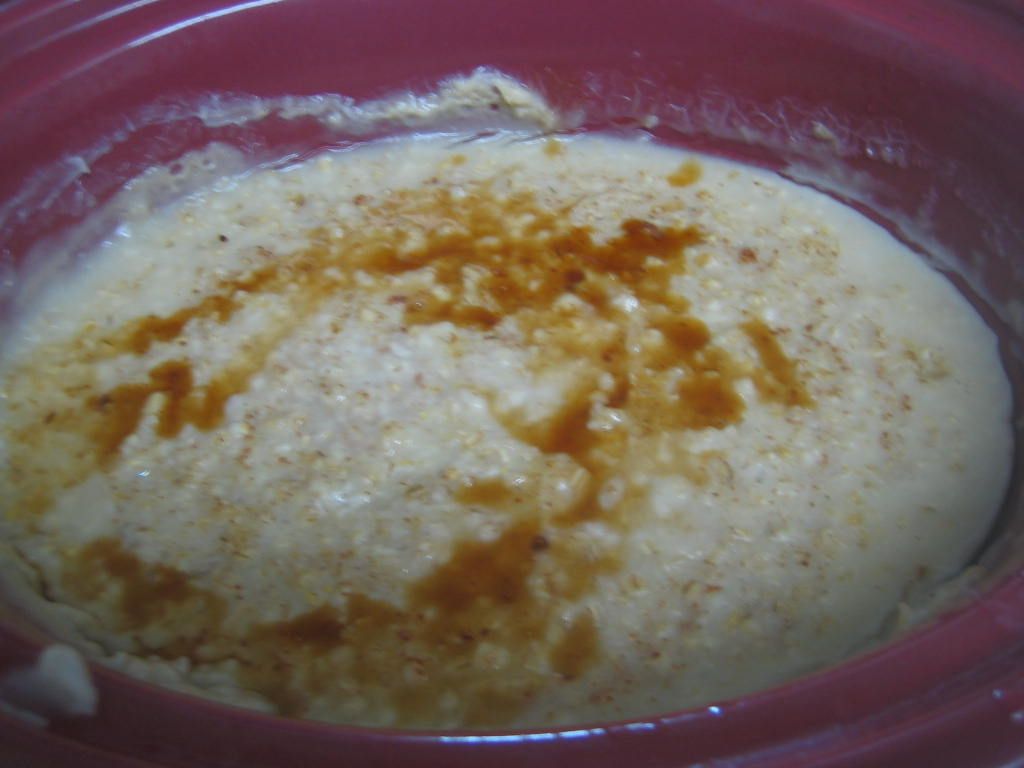
Be sure to toss your fillings in a blender so they are easier to work with
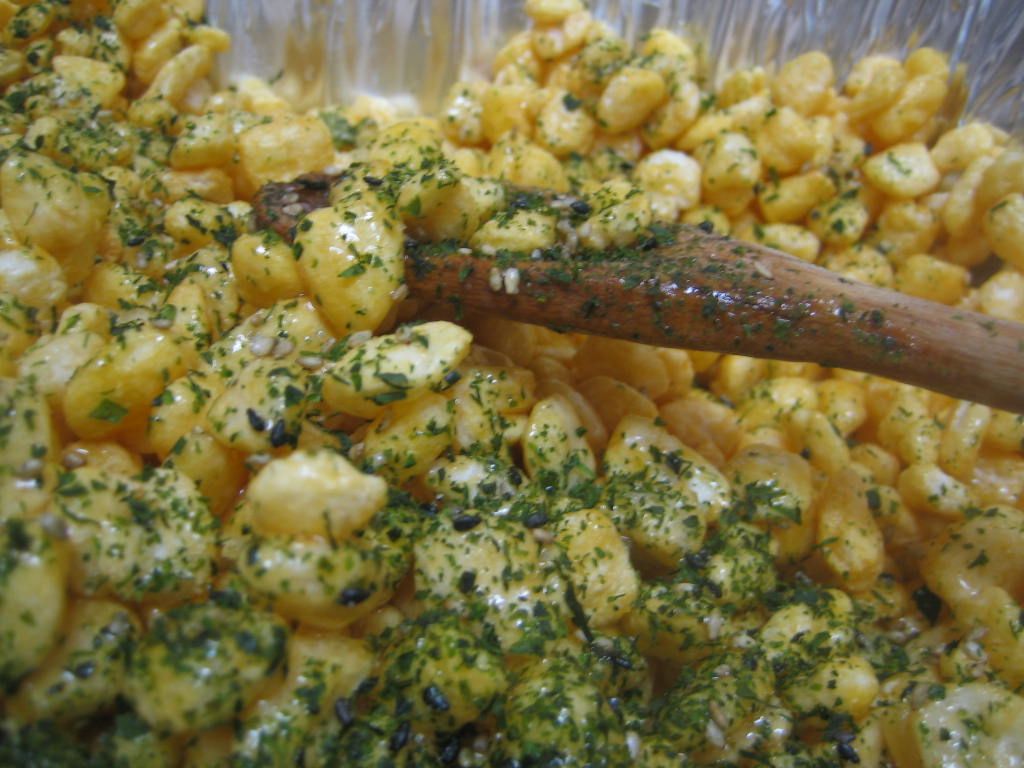
MC's sausage ravioli!
Both of these came out great!  We cooked some up to "taste test" them, but we ate them up so quick we forgot to take pictures... :(  The great thing about these is they freeze up well, so you can eat these ravioli weeks later as well.  Hope you and you're sweetie enjoy!

Friday, February 4, 2011

SuperBowl Sunday Soybeans

I have great Superbowl Sunday memories from my childhood with my dad.  We would go to his friends Superbowl parties and he would give me enough money to bet on 4 squares AND let me keep my winnings.  :)  I think I also had my first taste of beer at one of those parties as well...  There I would feast on chips and dip, sushi, sashimi, fried chicken and every dessert possible.  *Dad didn't really monitor what I ate since he was watching the game.*  I probably burned off all that deliciousness as I ran around and played with all the other kids.

Awesome Stadium Cake from USC FB season

Times have changed, but that doesn't mean we can't have yummy healthy treats to watch the game with!!  This is a popular snack in Hawaii and it goes great with beer.  I made this to watch the game with the Brazilian and Trainer this Sunday.  **It's Trainer approved!** 

Garlicy Goodness!
Seasoned Soy Beans
recipe from my mom

1 tsp hondashi (optional, I normally omit)
1 tsp sugar
1-2  Tbsp minced garlic
2 Tbsp soy sauce
1 tsp salt
2 dashes red chili flakes, or 1 fresh chili pepper
¼ tsp sesame oil
2 Tablespoons peanut oil

1.  Mix ingredients in a bowl and blend well like a salad dressing.
2.  Cook 1 lb package of soy beans, then cool. 
3.  Pour seasoning on, mix well.

Obviously you might want to pop a mint in if you spot a cutie at your Superbowl party...  Yummo!!

Thursday, February 3, 2011

Winter Blues... Kale White Bean Turkey Sausage Soup!

It's that time of the year... everyone in your office is sick.  Coughing, sneezing, sniffling for weeks.  If you are one of the lucky ones you escape the dreaded cold season or end up with just a couple days on the couch.  This past week I fell victim to the "office cold".  Growing up my mom would always make me Chicken Noodle Soup from scratch (thanks mom!); however I never really liked Chicken Noodle for some reason. 
I wanted to kick this cold to the curb, so even though I was feeling better I wanted to get some vitamins in to nourish me back to health!  *And protect me from the office germs*

This soup is full of yumminess, antioxidants, as well as vitamin A and C from the Kale.  The white beans give it a subtle creaminess, without any added fat as well as sneaking in some great fiber and protein!   

Kale White Bean Turkey Sausage Soup
based on Martha Stewart Recipe
4-6 servings

1/2 large onion, diced
3 cloves garlic
2 Tbsp olive oil
1 tsp Herbs de Provence (or Italian Seasoning)
4 cups low sodium chicken broth
1/2 cup water
Salt and pepper
1 pkg Turkey polska kielbasa
1 can white beans (I used Cannellini, you can also use Northern or White)
1 can diced tomatoes with green chiles
1 bunch Tuscan kale (Lactino Kale), roughly 6 cups
Parmesan cheese (optional)
Additional Veggies (optional- I threw in 1/2 cup fresh corn)

1.  Slice turkey sausage and place on a cookie sheet in a pre-heated oven at 350 degrees for 20-25 minutes.  *Tops of the sausage should brown nicely and get a little crisp.  You can also throw directly in the soup, but i wanted to crisp them up a bit.* 


2.  Slice or tear kale and remove stems.  In a heated saucepan add olive oil and add onions and garlic.  Cook until onions are tender, you should be able to smell the onion and garlic.  Add in seasonings and let them toast to fully develop their flavors.

3.  Add in 4 cups of chicken broth, the can of diced tomatoes and half the can of beans.  Stir and bring to a boil.  While the soup is boiling, take the other half of the beans and 1/2 cup of water and place into a blender.  Blend until smooth.

4.  Toss in kale, any additional veggies (corn, celery, carrots would be great!) and the bean puree and stir till well mixed.  Add in the turkey sausage (it should be done by now).  Reduce heat and let simmer partially covered for 20 minutes. 

5.  Ladle soup into bowls.  Drizzle with a small amount of olive oil and grate Parmesan onto soup. 

Drizzling the olive oil and grating a small amount of Parmesan onto the soup adds a BIG punch of flavor with out a whole bunch of richness.  This soup is pretty low cal, rough estimate with four servings is about 335 calories!  This would be great served with a big hunk of toasted bread or even some croutons for some added crunch.  The great thing about this recipe is that it could easily be a clean out your pantry or fridge dish.  When I make this again I think Turkey Meatballs, Portuguese Sausage or left over ham would be great in this soup.  You could also add in almost any type of veggie in and it would be great!  Let me also add that this got even better the second day.  I heated it up and slid a poached egg on top and it was drool worthy... Make it- now!