Friday, May 27, 2011

Herby No Knead Bread

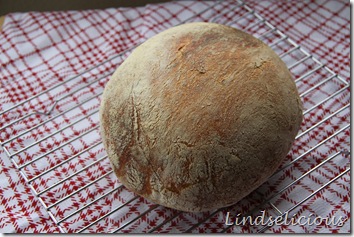
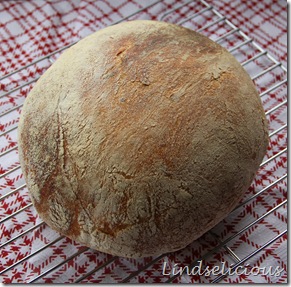
I have a love hate relationship with bread.  I love it fresh out of the oven, with a pat of melted butter on it.  Is anything better?  Now that I am no longer 16, bread goes straight to my belly and thighs.  I had been wanting to make this No Knead Bread for months!  You know the recipe that went around the web 3 times and came back again.  I didn’t want to get too crazy, since I have been known to bomb on yeast recipes.  So I simply cut up some fresh herbs and tossed into this famous No Knead Bread recipe.  Can I tell you that the scent of it baking in the oven was almost more than I could bear.  The bread was perfect.  The crust was nice and crunch and the middle was soft, dense and chewy all at the same time.  I won’t bother reposting since you can find it in the NY Times and on hundreds of blogs.  I found the extra directions and cute pics at Steamy Kitchen to be super helpful! 

381

Success!  Can I tell you that the most exciting sound is to take this bread out of the oven and hear it crackling.  Sorry if you’ve seen this dozens of times, but I was super excited and had to document it!  =)   

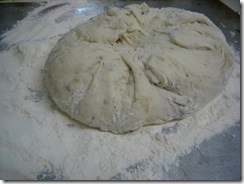
NokneadNoknead2

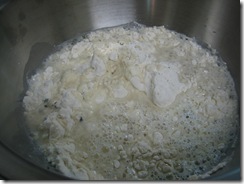
With my many mishaps with yeast, I’ve learned that bubbles are a good thing.  I also learned the hard way you can kill yeast with too hot water! 

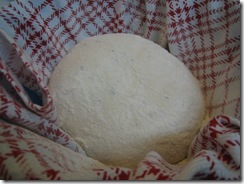
Noknead3noknead4

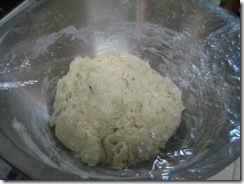
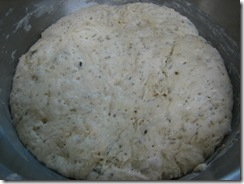
After 12 hours this was the transformation, I was so happy to see it looking that way in the morning.  Nothing is worse than seeing an un-risen blob….

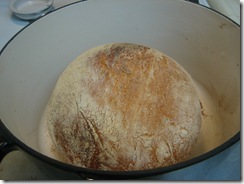
noknead5noknead7

Yipee!  It looks perfect.  I can’t wait to try this with other add ins, wheat flour, maybe some oats or honey as well.  I knew I was going to bake this up so I had bought an amazing container of roasted red bell pepper shallot goat cheese to spread on it.  So if you are afraid of yeast or making bread, take comfort in knowing that even I could do it- so you can too!  (Trust me it’s worth it!) 

382

Thursday, May 26, 2011

Dan Dan Noodles

Are you all ready for the long weekend?  I’m about to embark on a trip with my mom to the East Coast.  We will be visiting New York, Boston and Washington DC.  It will be a chance to meet up with a couple of friends, see a Broadway show, see some monuments, get some QT with my mom and hopefully have some good eats as well!  I plan on bringing my DSLR with me, so hopefully I will get the hang of it and capture some great pictures!   But just in case you miss me you can follow me on Twitter or Facebook to see what we are up to or EATING!  

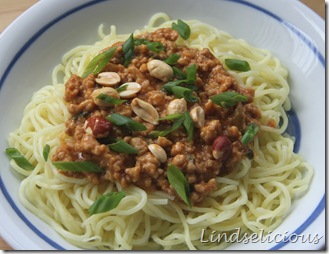
While I am gone, I thought I would leave you with this great dish, Dan Dan Mian!  Something about peanut sauce is so comforting and delicious.  Dan Dan Noodles is one of my favorites since it’s peanuty and spicy at the same time.  This recipe actually comes from Joanne Chang from Flour Bakery in Boston- one of the many places I hope to visit on my upcoming trip!  Since the sauce is so strong I thought that it would be a perfect match for my favorite Shirataki Noodles!!   

379

Dan Dan Noodles
adapted from Food and Wine

1/2 lb. ground pork
3 Tbsp. soy sauce
2 Tbsp. peanut butter
1 Tbsp. grated ginger
1 clove garlic, minced
2 Tbsp. green onion, sliced
1 Tbsp. Sriracha
1 tsp. sesame seed oil
1 tsp. honey (or sugar)
1 1/2 Tbsp. rice wine vinegar
1/4 cup chicken stock (or water)

Noodles (I used chow mien and Shirataki but you can use any noodle)

Dandan

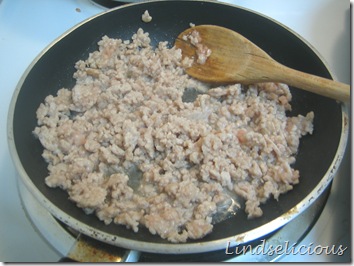
1.  Heat a skillet and add in ground pork, 1 Tbsp. of soy sauce and season slightly with some salt.  Using a wooden spoon, cook ground pork and separate into crumbles.  *Most likely you don’t need to add any oil since there is enough fat in the pork.*

Dandan2

2.  Using a slotted spoon remove pork from the pan and drain on a paper towel.  Remove 90% of the fat from the pan.

3.  Add to the skillet the minced garlic, ginger and green onions.  Sautee for a couple minutes.  *It will smell crazy good!!*

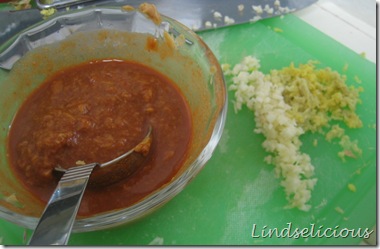
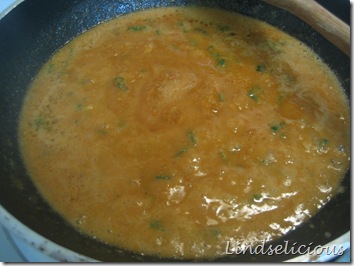
4.  In a small bowl mix the remaining ingredients together (peanut butter, sriracha, honey, soy sauce, sesame seed oil, rice wine vinegar, chicken stock).  Once roughly combined add the mixture to the skillet.  Let simmer for a couple of minutes till it starts to thicken and add the pork back in.  *Did you see all that oil that I saved you from?  Aren’t you happy you drained the pork now?*

dandan3

Servings: 3, Calories: 252, Total Fat: 18.6 g, Carbs: 5.2g, Fiber: 1g, Protein: 16.4g
*Nutrition for sauce only*

Serve sauce over hot noodles and garnish with green onions and peanuts.  This sauce is so yummy with a nice touch of spice in it.  It’s great over chow mien and it’s a great sauce to put over Shirataki noodles.  A little of this sauce goes a long way on noodles since it’s flavors really pack a punch!  

Wednesday, May 25, 2011

Apple Pear Crisp

Recently I helped to host one of my good friend J’s baby shower!  I have known J since the 7th grade and growing up we lived about a mile away from each other.  We both ended up going to the same college, became roommates (with two other awesome girls) –where she introduced me to Brie cheese!!! and both stayed in Los Angeles after college.  Her and her husband are also my tailgating buddies, so when I heard there would be a new addition to our tailgating crew I was beyond excited. 

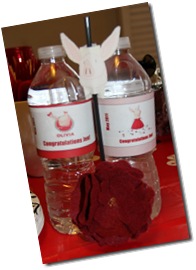
I teamed up with J’s sister to plan a fun but laid back shower.  We went with an Olivia the Pig as our theme (J loves piggies) and decided to tie dye baby t-shirts!  Can you guess which one I made?  

tiedye

Olivia the pig is the cutest, sassiest pig and she seems to love the colors red, black, white with some pink accents.  So I got to crafting and made some Olivia themed decorations to tie everything together.  
310309          313328

                      322

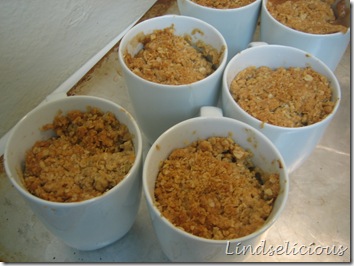
I also volunteered to make the favors!  I had originally wanted to make some kind of fruit crisp in a tea cup and saucer (so cute!!) but the practical side of me won out as I wondered what people would do with a random tea cup and saucer in their cabinets.  I went with a more practical coffee mug, since I reasoned that everyone could take it to work.  It worked out well cause they also got way more Apple Pear Crisp!  I decided to use an Ina Garten recipe and have reposted it here for you!  
favor

Apple Pear Crisp
recipe by Ina Garten via Food Network

6 apples (any baking apple I used Jonagold)
4 bosc pears
1 tsp. lemon zest
1 tsp. orange
2 Tbsp. lemon juice
2 Tbsp. orange juice
1 tsp. cinnamon
1/2 tsp. nutmeg
1/4 cup flour
1/2 cup sugar

Topping

2 sticks cold unsalted butter, diced (1/2 pound)
1 1/2 cups flour
3/4 cup brown sugar
3/4 cup sugar
1 cup oatmeal
1/2 tsp. salt

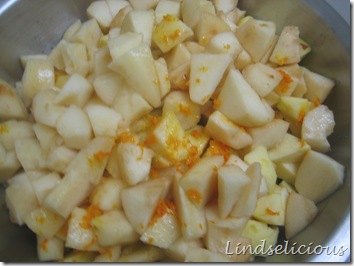
1.  Preheat the oven to 350 degrees F.  Peel, core and cut the pears and apples into large even sized chunks.  Place fruit into a large bowl and add in the zests, juices, sugar, flour, cinnamon and nutmeg.  Pour fruit into a 9x12 baking dish or 8-10 individual sized dishes.  *I made this batch in coffee mugs and a couple of ramekins, if you do this just adjust baking time.  Also don’t be afraid to pack the fruit in tight, they will shrink down during baking!*

Appcrisp2

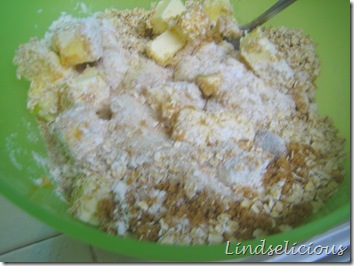
2.  For the topping, combine the flour, oatmeal, salt, sugars and butter in a bowl.  Mix ingredients until mixture turns into large crumbles.  *You can do this with an electric mixer or by hand with a fork.*

Appcrisp3

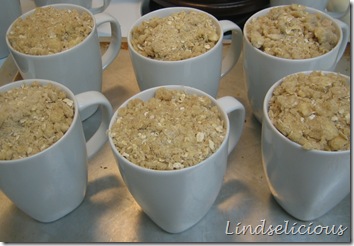
3.  Sprinkle crumble topping evenly over fruit mixture. 

Appcrisp4

4.  Place baking dish(es) onto a sheet pan and bake for 30-35 minutes (for individual containers) or 50 minutes in baking dish.  The top should be brown and the fruit should be bubbly.  Serve warm.

Appcrisp6

I sampled a cup right out of the oven (I couldn’t give everyone bad crisps as a favor!) and it was sooo good.  The apple and pear were an excellent combo together and the crisp was delish!  Next time I make this I am going to grate some ginger in with the apples and pears since I think it will complement the flavors nicely.  Maybe even some caramel bits, a little caramel never hurt anyone did it?  I tied these up using cute black and red ribbons, the perfect favor to take home with you.  One minute in the microwave and the guest is in heaven!  

Note:  J delivered a healthy adorable baby girl this week!  Welcome to LA baby Mila, can’t wait to hang out and get to know you.  =) 

Sunday, May 22, 2011

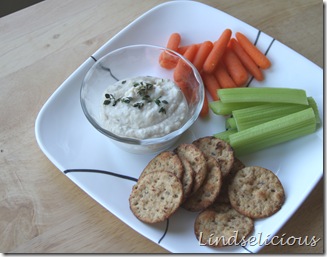
Truffle White Bean Dip

The other day my friend A asked me if I had tried the Truffle White Bean dip from Whole Foods yet.  She had me at the word truffle, my interest was peaked, especially since I love any kind of dip or hummus.  A told me it was delish, especially when paired with pretzel chips.  For a few days the description of the dip stayed in my mind, so I decided rather than go from Whole Foods to Whole Foods in hope of finding it, I would make my own!  It was the best decision I made that week, it could be yours too.  This dip is so simple and tasty you will fall in love with it.  Thanks A for your great find.   

These pics are the first that I’ve taken with my new DSLR.  Please bare with me as I stumble around and figure out how to use all the functions it offers.  Any tips and tricks people want to share are also appreciated!   

WhiteBeanDip2

Truffle White Bean Dip
inspired by Whole Foods

1 can Cannellini beans
1 lemon
1.5 Tbsp. Truffle oil
1 tsp. truffle salt
4 cloves of garlic
1/4 cup plain yogurt
1/4 cup shredded parmesan
pepper

1.  Take four cloves of garlic, with skin on, drizzle with olive oil and bake at 425 degrees for 15 minutes.  *You can roast a whole bulb, cause who doesn’t love roasted garlic.  I just did the 4 cloves in my toaster oven.*

Whitebean3

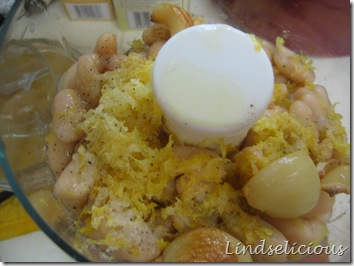
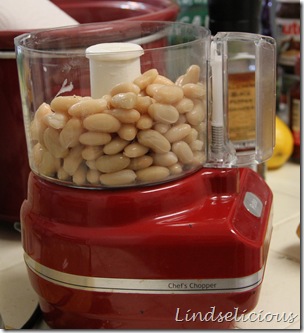
2.  Rinse the cannellini beans and place in food processor or blender.  Add the zest and juice of one lemon, truffle oil, truffle salt, roasted garlic and parmesan cheese.  Blend the mixture until all ingredients are finely combined. 

WhiteBeanDip

3.  Season with pepper (or any other fresh herbs that you like) and mix in the yogurt. *I added some fresh sage on top and it was so good!!  I’m sure basil, rosemary and any other fragrant herb would be great as well.* 

Servings: 6, Calories: 145, Total Fat 5.2g, Carbs: 19g, Protein: 7.8, Fiber: 4.3g. 

Whitebeandip3

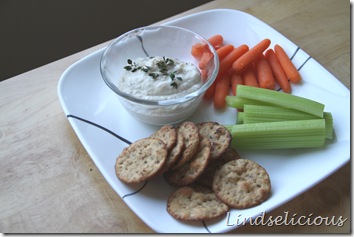
Serve with veggies, pita crackers, pretzel chips or any kind of dipper you like.  It was also amazing in a sandwich wrap that I had during the week.  I subbed the mayo for this flavorful dip! 

Friday, May 20, 2011

Chicken Pot Pie

A month ago my friend MC and I went to a Chicken Cooking Class at Epicurean.  We had bought a great deal from Groupon and this was one of the classes we were interested and that we both could make.  You may be thinking Chicken, I can cook chicken?!  It was a simple class, but we learned so much in terms of technique as well as we left with 10 awesome new chicken recipes. 

One of my favorites, which I wasn’t even interested in when I read it was on the menu was Chicken Pot Pie (CPP).  Oh CPP how I misjudged you, I forgot how comforting and simple you are!!  How a layer of buttery puff pastry, creamy gravy and tender juicy chicken could be so good.  Sorry to say that I don’t really have nice pictures of the finished product since I took this dish over to my friends house for dinner.  My friend K and I were visiting the new mommy; keeping her company with the baby while her husband was out of town.  Between her cute dogs, the adorable baby and the heavenly smell coming out the oven the dish went from stove to our tummies pretty quickly! 

ChikPP8  It may not look pretty here, but how could you not love all that puff pastry goodness??

Chicken Pot Pie
adapted from Epicurean

2 Boneless Skinless Chicken Breast
1 large onion, diced
2 stalks celery, diced
1 Tbsp thyme
1 Tbsp sage
2 oz butter
2 oz flour
2 cups chicken stock
1/2 cup half and half
8 oz frozen peas and carrots
salt
pepper
1 box of puff pastry, defrosted

1.  Preheat oven to 450 degrees. 

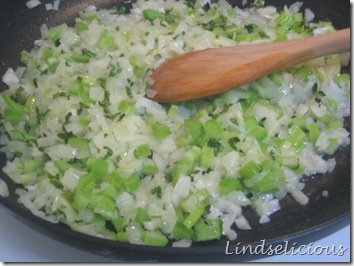
2.  Sautee onions and celery with the herbs with the butter until the veggies are softened. 

ChikPP

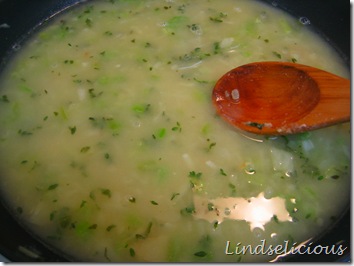
3.  Slowly add in the flour, stirring and cooking the flour down.  Then whisk in the stock and cook over medium heat until it starts to boil and thicken. 

ChikPP3

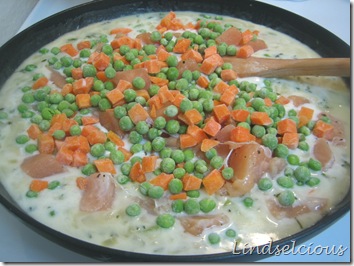
4.  Add the cream, then the chicken and the peas and carrots.  Season with salt and pepper.  Cook until chicken is just done.  *If you wanted to make this the night or day before you could stop at this step and refrigerate or freeze this mixture.  I did this a day or two before I had to go over to my friends (so I wouldn’t make a mess in her kitchen) and it came out great!* 

ChikPP5

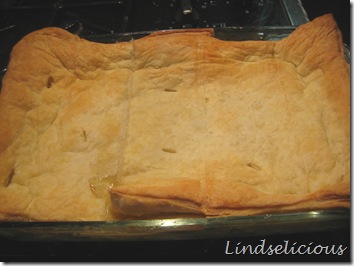
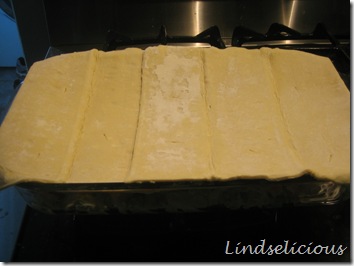
5.  Pour mixture into a casserole dish (circular or rectangle is fine).  Lay 1 to 2 layers of the puff pastry over the casserole dish (depending on size of dish) and cut several slits in the pastry to allow the steam to escape.  Trim excess puff pastry as necessary from over edge of casserole dish. 

ChikPP9

Note:  We used a rectangle dish at the new mommy’s house, which gave us lots of yummy puff pastry but less fillings.  This recipe would fit perfectly in a round casserole dish and be covered by 1 sheet of puff pastry.  If you are feeding hearty appetites but want to make it in a rectangle casserole dish, you may want to double or do an 1.5 portion of the filling recipe above.   

I only had this a couple weeks ago, but I want to remake it!  I tried to lighten it up a little bit by using half and half instead of cream.  I want to make individual serving size portions and try adding other veggies in there as well.  Even though we are moving into spring and warmer weather, this dish is so comforting it will still put a smile on your face (and in your tummy). 

Wednesday, May 18, 2011

Asparagus Yogurt Quiche

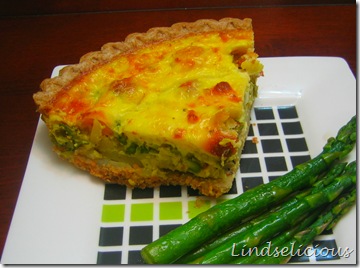
Spring time is here!  That means a whole new slew of vegetables and fruits are popping up at the farmers market.  The other day when I was walking through the farmers market by my work, I couldn’t resist and I had to buy the leeks and asparagus!  I wasn’t really sure what I would make with them, but when I went home all the ingredients seems to quickly come together into this beautiful spring quiche.  I think I was so excited, that I forgot to take pictures along the way… But this recipe is so easy, you won’t need the extra help.   

quiche2

Asparagus Yogurt Quiche

1 whole wheat pie shell
12-15 stalks of thin asparagus
15 grape tomatoes
1 leek
1/2 potato
1 cup parmesan cheese
1 cup plain yogurt
4 eggs
olive oil
salt
pepper
nutmeg

1.  Preheat oven to 350 degrees.

2.  Lightly beat eggs and yogurt, season with salt and pepper.  Mix in parmesan cheese and set aside.

3.  Thinly slice leeks and cut asparagus into small pieces.  Heat a skillet with olive oil and mix in leeks and asparagus.  Season with salt and pepper and cook until slightly softened. 

4.  Wash and peel the potato and cut into thin slices.  Lay down potato slices on top of the pie crust in a circular pattern. 

5.  Lay leek and asparagus mixture over the potatoes.  Slowly pour the egg mixture over. 

6.  Bake for 45 minutes, check for doneness. 

quiche

This dish was super fresh and reminded me of spring.  One of the things I love about quiche is that you can eat it anytime of day.  Since I live alone (and doubted that the Brazilian would like this), I ended up having this for breakfast, lunch and dinner! 

Sunday, May 15, 2011

Crockpot Chicken Adobo

Hope you all had a great weekend!  This weekend was jam packed for me as I had two friends who graduated from USC with MBA’s and doctorate degrees and two celebrations!  Congrats again to SL and Momo- great job ladies, so proud of you both!  This weekend the Brazilian and I also attempted to play a game of laser tag after our sushi dinner.  We spotted it across the street as we were walking back to the car and decided to go check it out!  Unfortunately just as we put on our vest and the doors to the laser labyrinth opened, we found out that our lasers weren’t working.  It took them a while to figure things out so the Brazilian and I had to leave before we got to play a game. 

Because…. we had bought tickets to see one of the funniest movies we’ve seen in the longest time!  Bridesmaids!  If you have not seen this movie, you need to see it ASAP.  The Brazilian was a little hesitant to go see this, afraid that it was going to be a “Chick Flick”, but it was hardly that.  Maya Rudolph and Kristen Wig are hil-ar-ious!  The whole cast is actually great- go see it, you won’t be sorry!   

bridesmaids-movie-cast

Anyways, on to the cooking!  It seems like everyone around the web is making Chicken Adobo.  Growing up in Hawaii, this Filipino dish would often make appearances at various potlucks.  Even up here in Los Angeles, almost every Hula potluck has a savory vinegary dish of Adobo.  While I enjoy this dish, I have never tried making it myself.  But when I saw Stephanie from 52 Kitchen Adventures version in the crockpot, I knew I had to try it.   

I also thought it would be the perfect recipe to finally use some of the ghost pepper salt that I had bought at my last trip to the Spice Station.  Also known as “Naga Jolokia” salt, it is the hottest salt in the WORLD!  The pepper that is used in the salt is known as the King Cobra Chili, if that gives you any indication of how much punch this gives.  

Adobo4

Crockpot Chicken Adobo
adapted from 52 Kitchen Adventures

2 to 3 lbs boneless skinless chicken thighs
1/2 cup soy sauce
1/2 cup apple cider vinegar
2 Tbsp. minced garlic
2 bay leaves
garlic salt
pepper
ghost pepper salt (GPS) /chili pepper, optional

1.  Cut off any excess fat from the chicken thighs.  Season them with garlic salt and pepper and place into the crockpot. 

Adobo

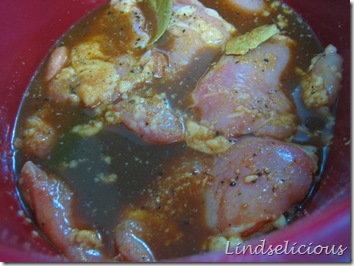
2.  Add in soy sauce, apple cider vinegar, minced garlic, bay leaves and a pinch of ghost pepper salt.  *Careful this salt is spicy, but this dish is a good one to add it to since the long cooking time mellows it out.  I put in about 1/2 tsp.*

3.  Cook on low for 4 to 5 hours or on high for 2.5 to 3 hours or until chicken is cooked through.  *Cooking time will vary depending on power of crockpot.  Chicken with bones still in may also take longer to cook.* 

Adobo2

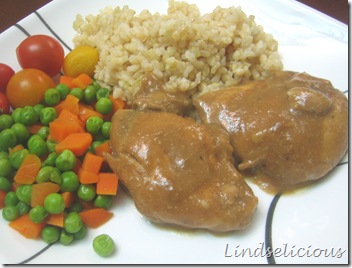
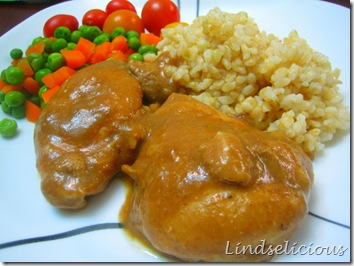
Serve with rice.  I decided to take some of the sauce in the crockpot and reduce it on a stove top to thicken up and spoon over your chicken.  This dish was so good and so easy, it is no wonder everyone is making it!  I’m not sure who originally posted, but thanks to Stephanie from 52 Kitchen Adventures for introducing me to her crockpot version!  I think she might be the next slow cooking queen, her weekly slow cooker Monday posts are some of my favorite.  Go over and check out her site if you want more slow cooker goodness!     

Friday, May 13, 2011

Oven Fried Cauliflower, an Ode to Spice Table

Recently for my birthday my friend LT took me to The Spice Table, a new restaurant that opened up in Los Angeles.  I was excited to try it since it was a fusion of Vietnamese and Singaporean cuisine.  The restaurant space is fabulous, with an intimate small bar at the entrance that allows you to watch the cooks as they cook up satays and other dishes in their wood burning oven.  The main dining room is enclosed by brick walls with fabulous lighting features that are enclosed in old fashioned bird cages. 

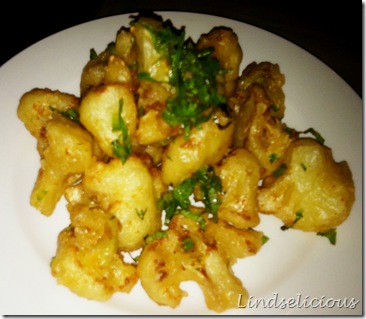
One of the dishes we had that is now my latest obsession is their fried cauliflower (pictured below).   Lightly fried in a crisp delicate batter and served with a fish sauce based dipping sauce, this dish is perfection.  I wanted to try to make this dish at home but healthier!  So I decided to try an oven fried version with a more Italian twist.

SPT

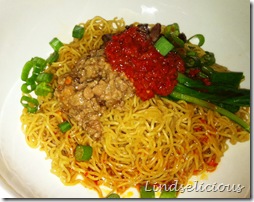
Here are a couple of my other favorite dishes I’ve had there in the times that I’ve gone back.  Their beef rendang and their kon loh mee.  Sooo delish!  If you are in LA, I definitely recommend checking this place out.  Did I also mention that they have 4oz beer tastings as well? 

SPT2SPT3

Oven Fried Cauliflower

inspired by Spice Table

1 Bag of Cauliflower flowerets
1/3 cup egg whites
1 cup panko
1/3 cup parmesan
salt
pepper

1.  Pre heat oven to 375 degrees.  Pour eggs whites into a bowl and season the mixture with salt and pepper.  In a second bowl mix the parmesan cheese and panko bread crumbs together. 

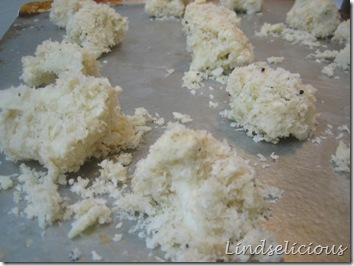
2.  Spray baking sheet with cooking spray.  Take each cauliflower floweret and dip in egg whites and then roll into panko mixture.  Repeat and evenly line the baking sheet. 

Cauli

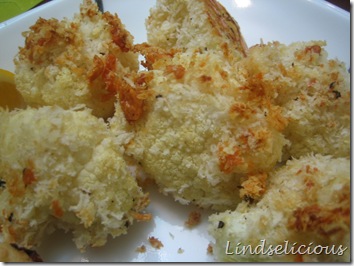
3.  Lightly spray the cauliflower with the cooking spray before putting into the oven.  Bake for 25-30 minutes. 

Cauli2

This would go great with marinara sauce for dipping or even some yogurt mixed with fresh herbs.  I wanted to keep things simple and just squeezed lemon over them to brighten things up.  These were yummy and had a great crunch, I want to keep playing with this recipe to get a thicker coating on the cauliflower.  Did you also see the Cauliflower recipe on theKitchn the other day?  Crazy delicious, you can see it here!!

Monday, May 9, 2011

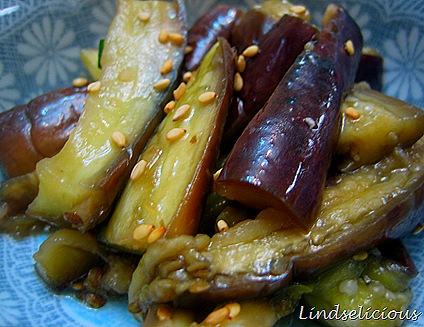
Gaji Namul, Korean Eggplant

Recently Marukai (a Japanese market) opened on my route home.  I actually already live within 2-3 miles of two other Japanese markets, but for some reason Marukai is my favorite.  Maybe because I grew up with it in Hawaii and the fact that they have lots of Hawaii stuff as well.  This basically means a lot more Japanese cooking, as well as some great deals on Asian veggies and fruits. 

During my last trip, I picked up some Japanese Eggplant for under 2 bucks.  Due to the hot weather in LA recently, I decided to try my hand at a cold dish, a Korean panchan called Gaji Namul.  For those of you who aren’t familiar with Korean BBQ, one of the best parts is that with your meal you get served a wide variety of fresh and pickled veggies.  These serve as the perfect compliment to the sweet and savory marinades on the various cuts of meats.  If this hasn’t convinced you to try Korean BBQ, please call me- I will take you.  LOL   

Nasu6

Gaji Namul
adapted from kourmet

3 Japanese style eggplant

Sauce

1 Tbsp. soy sauce
1 tsp. green onion
1 tsp. garlic, minced
1/2 tsp. salt
sesame seeds
1/2 tsp. sesame seed oil
1 tsp. jalapeno

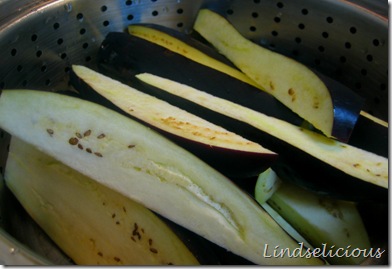
1.  Quarter the eggplant and place them in the steamer.  Sprinkle the eggplant with salt and steam for 10-15 minutes, or until the eggplant is soft enough to easily pierce with a fork. *Time may vary depending on size of eggplant*

037

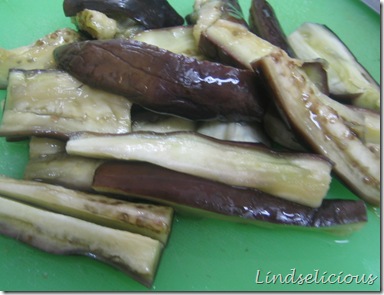
2.  Cool down and tear/cut eggplant into bite sized pieces.

Nasu3

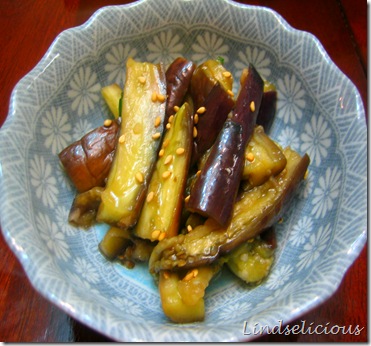
3.  Combine the sauce ingredients together and mix with eggplant pieces.

Nasu5

The longer you let this sit, the more delicious it gets.  I love this as a vegetable side dish with a hot scoop of rice.  I also added this into one of my salads and it was great.  This can last for about a week in your refrigerator in an airtight container.  

Friday, May 6, 2011

Galinha Ensopada, Soupy Brazilian Chicken

Hope you all had a great Cinco de Mayo.  While you may be tired of Mexican food, hopefully you still have room for some Brazilian goodness.  My lightened up Brazilian Chicken Strognaoff recipe is one of the most viewed and searched for blog entries that I've done.  I wanted to take a stab at another Brazilian recipe and saw a picture of Galinha Ensopada and thought it looked delish! 


Galinha Ensopada (Soupy Brazilian Chicken)

1 onion, diced
2 cloves garlic
1 tsp parprika
1 can plum or diced tomatoes
1 can hearts of palm, cut into bite size pieces
1/2 cup green olives
3 green onions
1/4 cup cilantro
2 cups chicken broth
2 lbs chicken (I used BSC Breast, but it would probably work great with thighs as well)
Olive oil
Flour

1.  Heat pan with olive oil and season the chicken breast with salt and pepper.  Gently dredge the chicken in flour, shaking off the excess.  Then sear chicken on both sides for a couple of minutes and remove from heat.  *Let's be honest, this probably would be best with chicken thighs (bone-in and with skin on), but since I'm trying to keep it light I used boneless skinless chicken breast.*

2.  Add onion, garlic, paprika and tomatoes to pan.  Once the onion has softened, add in chicken stock and bring to a boil.

3.  Slightly reduce heat and cover and let simmer for 20-25 minutes.  Add chicken back into the pot when there is 10 minutes left to go.  Season with salt and pepper to taste. 

4.  At the end add in hearts of palm and olives and cook for another 5 minutes on low.   

Garnish with green onions and cilantro.  This dish is traditionally served with polenta, but it would probably also be great over rice.  I served this with the slice and bake roll of polenta.  The Brazilian and I enjoyed this dish but both agreed that chicken thighs would have made it better since the breasts did feel a little dry.  I totally love the addition of hearts of palm and olives in this chicken dish, I may or may not have stolen some hears of palm off the Brazilians plate when he wasn't looking...  :)